Plugins can be installed directly from the admin area. You can either download the plugin to your computer or install online over the internet directly.
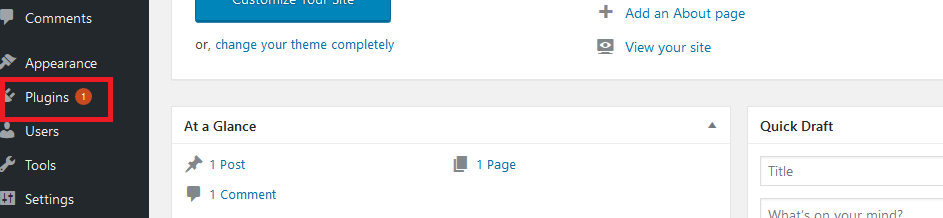
Step 1: Login to your wordpress dashboard and locate the Plugin menu on the side bar.
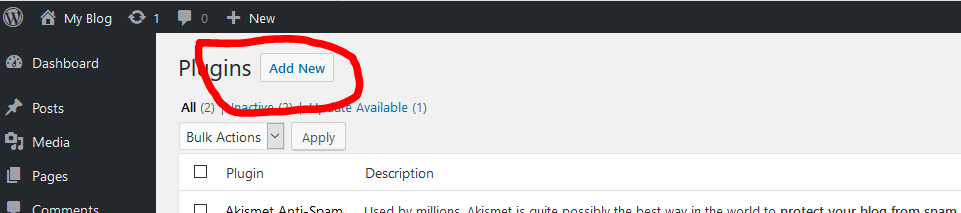
Step 2: Clicking on Plugins above should take you to the page below that has the Add New button.
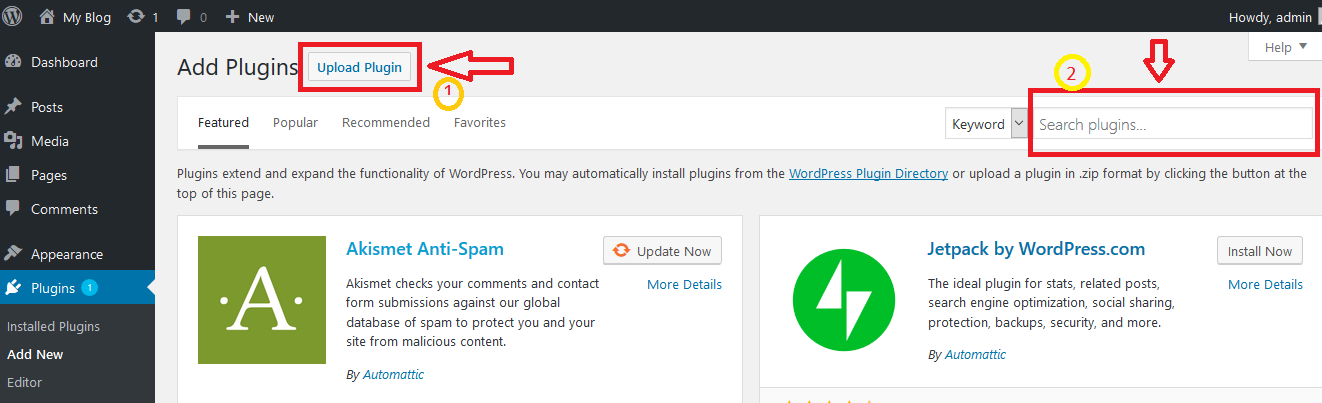
Step 3: On clicking on Add New, you should get the options below:
1. Upload Plugin -> Use this if you already have the plugin downloaded to your local device.
2. Search Plugins -> Use this to search for plugins and install over the internet without downloading to your device first.
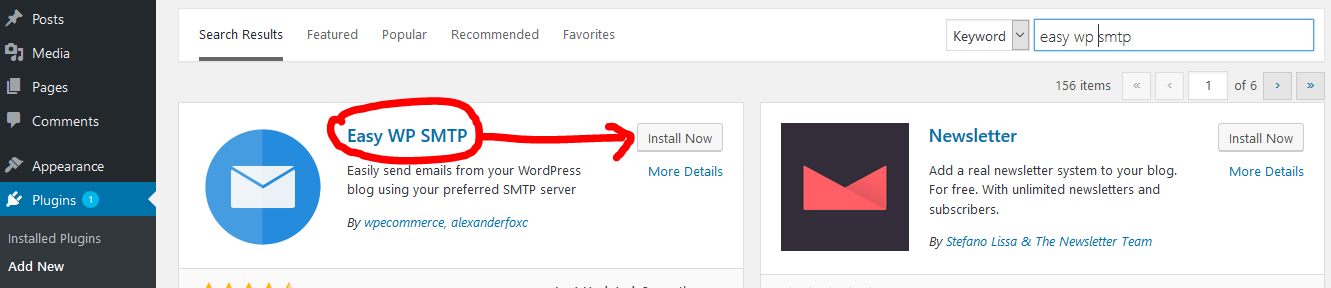
Step 4: If you choose to search over the internet, type in the search field i.e, Easy WP SMTP, wordpress will automatically search its plugin database for your search query. Note that you do not always have to know the exact name of the plugin you wish to install, you only need to type key words relative to the functions of the plugin of your choice. For wordpress smtp plugins, you could just type in smtp.
Step 5: Click on install and then also ACTIVATE to get the plugin active.

Congratulations!!! You have successfully learnt how to install and activate your choice plugin.