Step 1: To begin, first you need to install a plugin named Easy WP SMTP by following the instructions in our tutorial on how to install WordPress plugins.
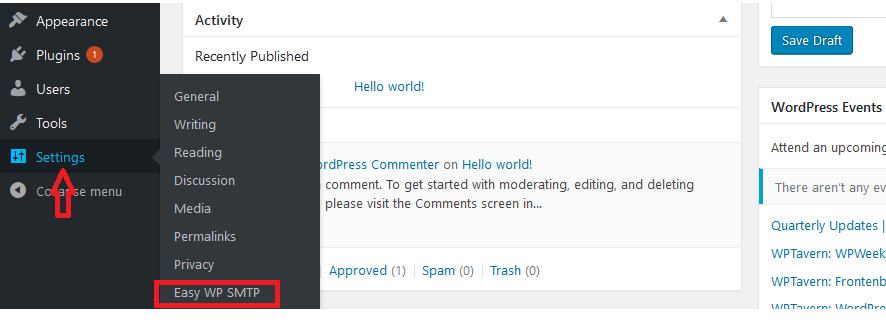
Step 2: Once the plugin is installed and activated, a new menu will show up under the Settings section of your wordpress dashboard called Easy WP SMTP. You will need to navigate to it in order to configure WordPress to work with SMTP.
Step 3: On this page you will see several configuration options available as in the screen shot below:
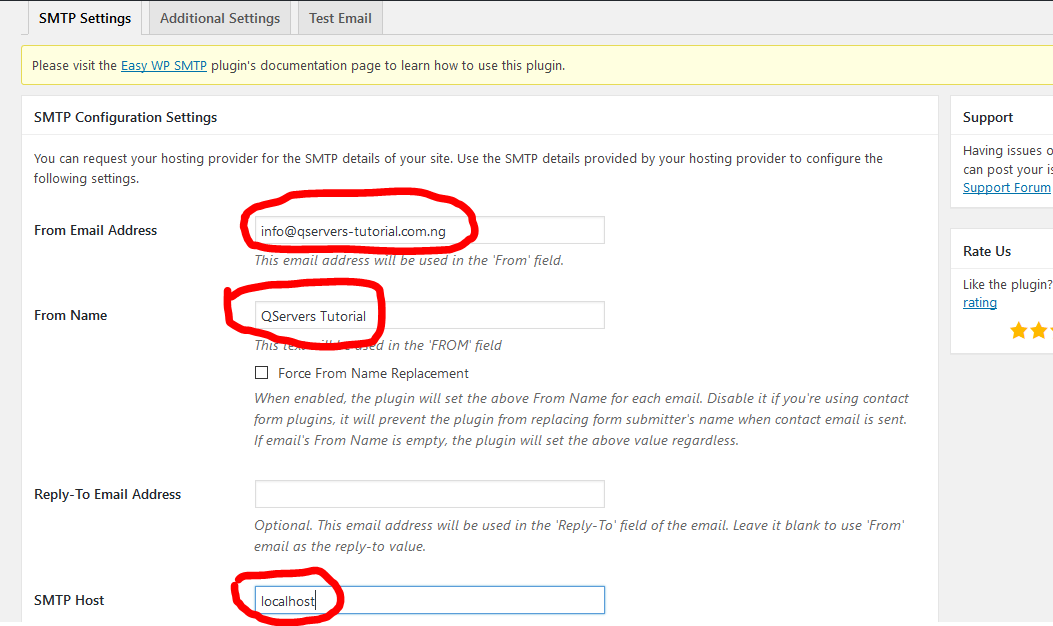
Configuration settings:
From Email Address: your email address i.e info@mydomain.com
From Name: a name to give your email address i.e Company Name
SMTP Host: localhost
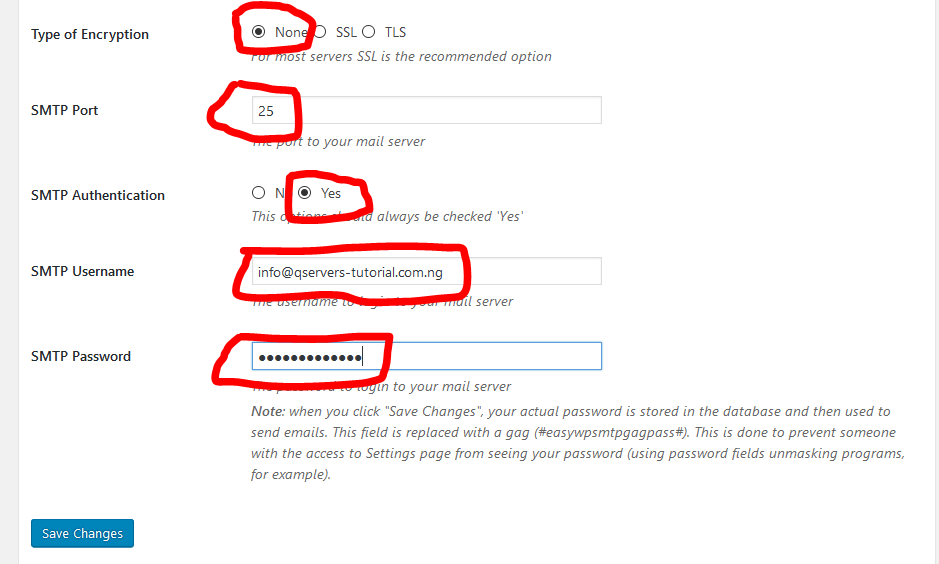
Type of Encription: None
SMTP Port: 25
SMTP Authentication: Yes
SMTP username: Your email address ( same as the From Email Address)
SMTP Password: Password of the email address above
Step 4: Once you configure those parameters, simply click the Save button at the bottom of the page.
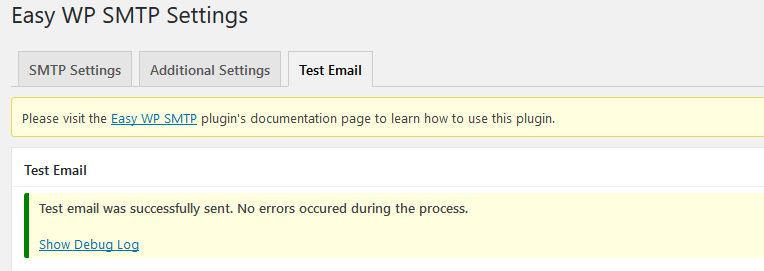
Step 5: To test the setting is working, click on the Test Email tab and fill in the required fields and click on Send.
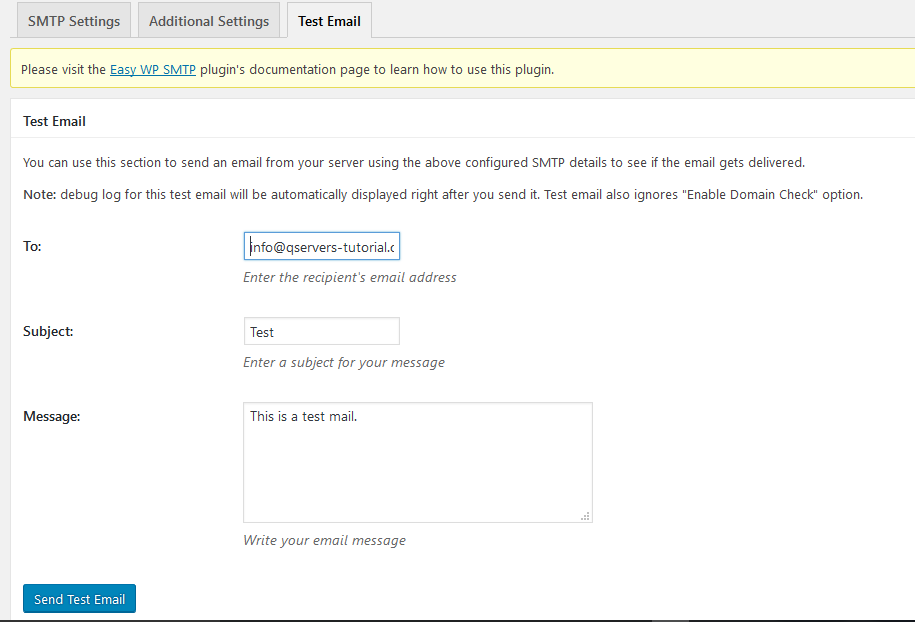
You should get a result as below after the test:
We hope this article helped you learn how to use SMTP server to send WordPress emails.